About Us

Advantage

From concept to production

We keep our R&D for 32 years: We achieve what others can’t

Our strength lies in the ability to respond quickly to the market demands, from cloud to ground, from concept to trial and even to production, from inspection to verification to certification. All these can be conducted in the shortest time. In addition, we can enhance the accuracy, stability and sustainability of each step.


01

From concept to production

In the early stage of the cooperation, we will understand the customer's demand for parts through our sales people, and then our designers will quickly form preliminary concept parts with the stress and fluid simulation software according to the listed requirements.

A
Stern inspection

Our design engineering department will make the parts, and then our engineers will assemble them, and then use a variety of testing equipment to confirm that they will be handed over to the customer.

B
Everlasting development for the past 32 years

After the completion of the planning, our R&D engineers will discuss with the customer whether the file need to be modified, and then we would adjust the size of the 3D image directly.

C
Comprehensive component stock

We have a large parts warehouse by which the parts are continuously supplemented to the designers and they use them to form the concept parts.


02

Various kinds of inspection devices

When we have confirmed the product performance matching with the customer, we will further confirm the stability and sustainability of the product.

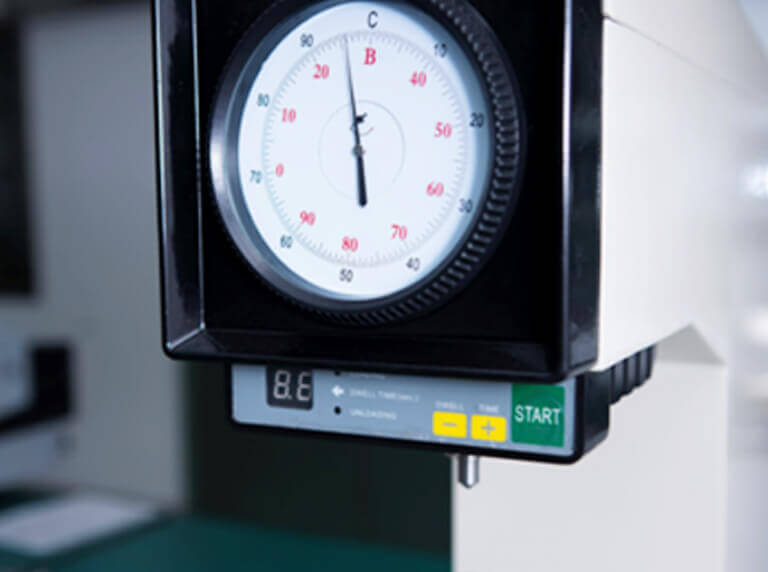
Electric Rockwell hardness device

Rockwell hardness device is an instrument used to specifically test the Rockwell hardness of metal materials. The electric Rockwell hardness device has accurate force values and good measurement accuracy. Its test results, load-bearing, and unloading motor loading can be completed automatically, which can eliminate the errors caused by human operation, and it is easy to operate, with high bearing capacity, good vibration resistance, and wide application range.

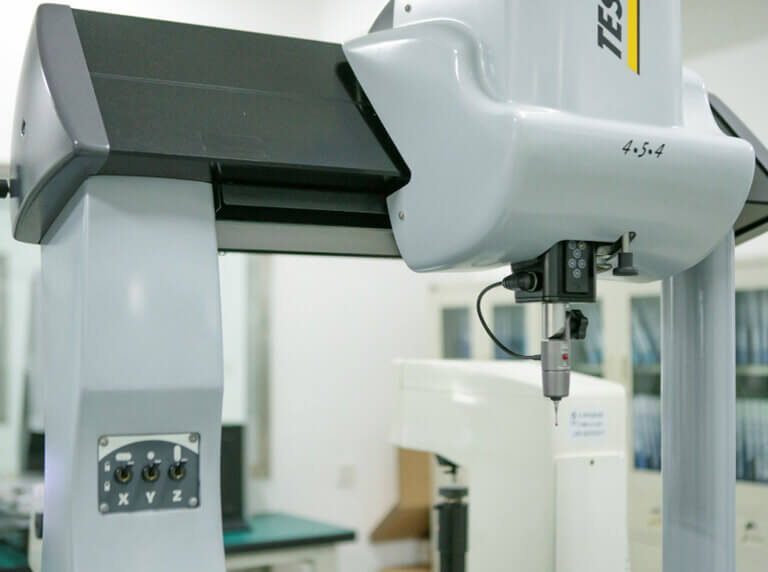
3D Coordinate measuring machine

The materials we use have an approximate coefficient of expansion, which effectively reduces the effects of environmental conditions on measurement errors. The machine has optimized geometric stability when moving axially. Each shaft adopts frictionless air bearing and adopts precision triangular beam structure to ensure the stability of the machine body. We have equipped the machine with the Swiss TESA original probe for high sensitivity and precision.

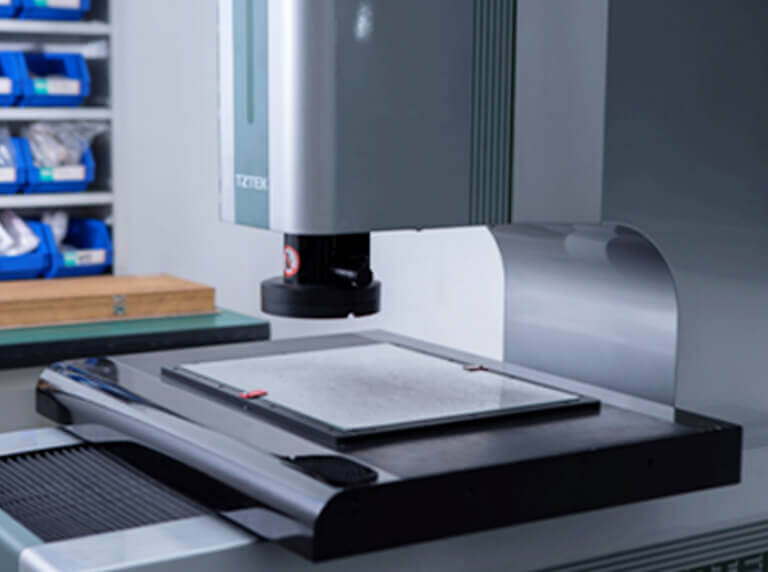
Imager

The imager has a 6-ring 8-zone ring-shaped surface source with an automatic variable optical lens and program control, and an LED profile source, so you can accurately capture the contours of the part and get accurate geometric data. The device is equipped with three-axis precision linear guide, transmission system, and precision granite machine, ensuring high precision and good stability.

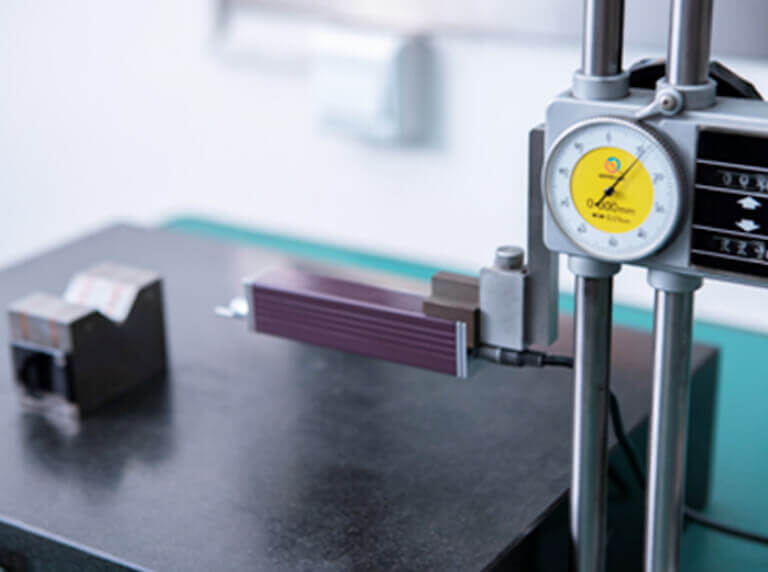
Surface roughness device

This is a high-precision instrument for surface finish that measures the surface roughness of a variety of machined parts, including flats, bevels, outer cylindrical surfaces, curved surfaces, small holes, grooves, and more. Thanks to this instrument, the roughness of the surface of the parts where the seal is installed can be well guaranteed.

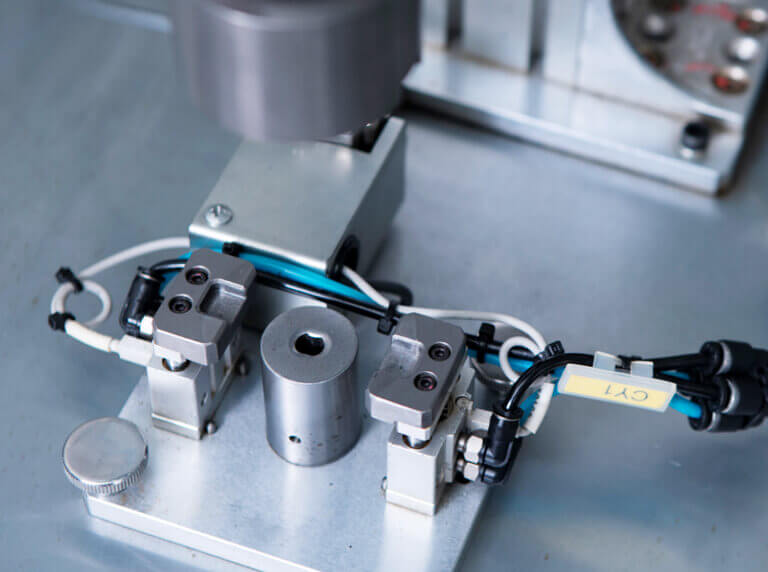
Torque test device

The torque test device is a test device specially designed for rotary dampers; this device is sensitive and accurate, and can accurately detect the damping force generated by the rotary damper when the servo motor rotates; A torque test device is a semi-automated device that operators simply need to press the start button and the entire test process is automated by the program, and based on the test results, the system automatically determines if the results are acceptable.

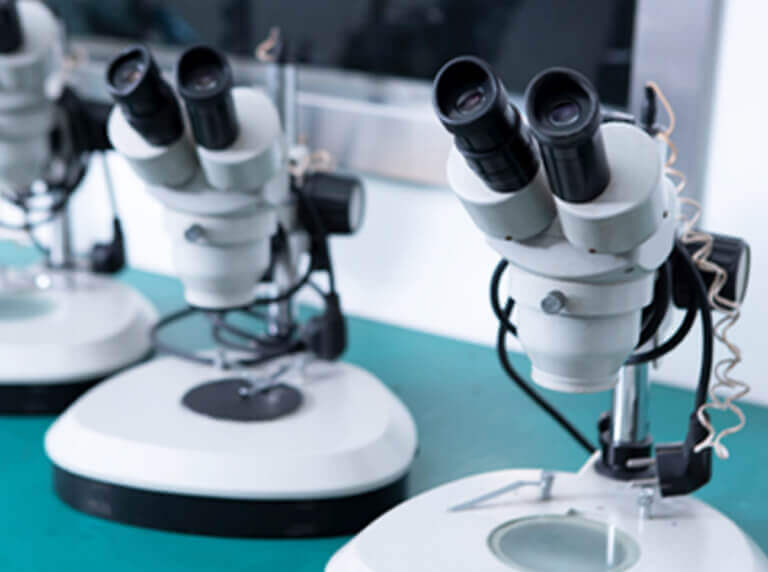
Binocular microscope

A binocular microscope is an instrument that magnifies fine objects with high resolution, high definition, and high 3D image. This machine has a wide field of view and grants good image quality. It can be used for inspection and flaw detection of surface textures of parts and seals.

Curve test device

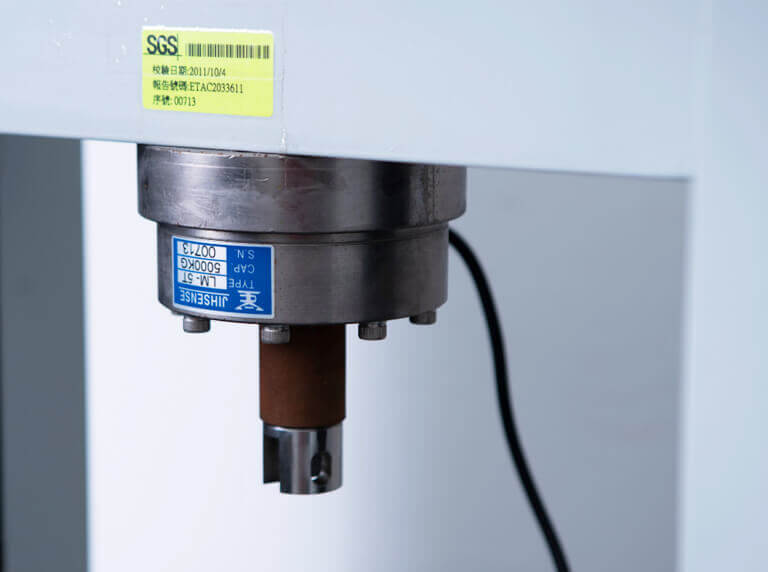
In order to ensure the consistency of the product's effect and better optimize the damping functionality of the product, CJAC has customized a device for the testing of the damping curve of the buffer; The device is equipped with a highly sensitive, high-precision load cell that accurately captures the differences of the absorbers and the damping force after applying force to the absorber.

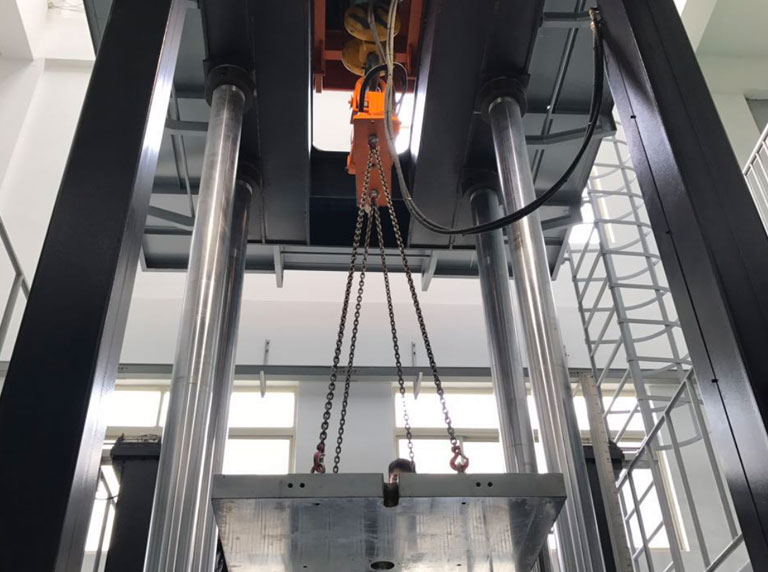
Heavy-duty curve tester

The Heavy-duty curve tester is a free fall detection device equipped with a 100T load cell and a laser displacement sensor. This custom-made machine can meet the long-travel, high-absorption energy requirements required to test large shock absorbers, and at the same time generate faster impact speeds. Equipped with custom software, it can obtain the dynamic characteristics of the absorbers.

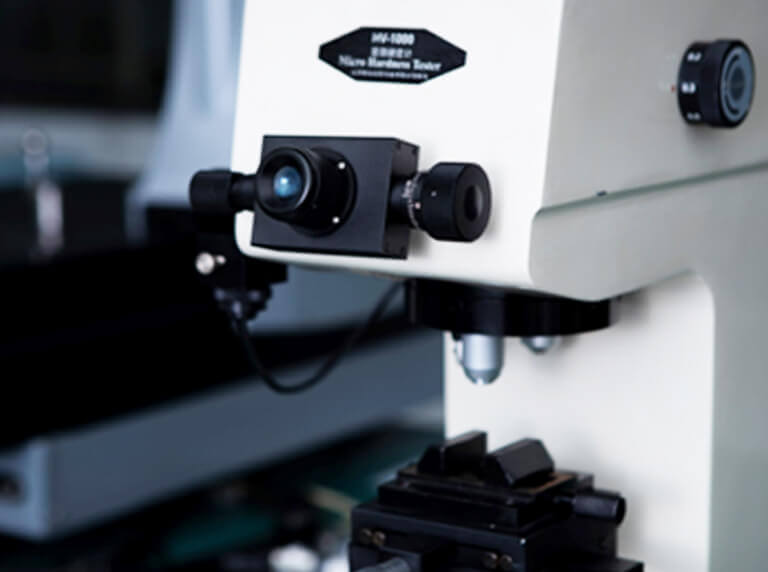
Micro hardness test device

The Micro hardness test device is a Vickers hardness test machine that is suitable for testing heat treatment, carbonization, hardened layers, surface coatings, and small and thin parts. This machine has no friction spindle and is with high test force precision. The machine has a high-precision optical measurement system and a precision coordinate test bench. The test procedure of this Micro hardness test device is automated, and with no manual issue, there is no operating error. The test result is in accordance with GB/ T 4340.2, ISO 6507.2, ASTM E384; this machine has a clear test indentation profile and accurate diagonal measurement. It is the most accurate instrument in the conventional hardness tester.

Versatile material test device

This device is mainly used for stretching, compression, bending, and shearing of materials, and can also be used for damping force testing of hydraulic speed controllers and other linear dampers; This device can meet different test requirements such as small load, large displacement, fast speed and large load, small displacement and high stability; the machine has high positioning accuracy and is able to obtain accurate data.

03

Advanced processing facility

 
Automatic CNC lathe-1

The SR-32J is a high-rigidity, high-efficiency compound CNC lathe. This lathe is equipped with a dual-spindle and power drill for multi-handle machining tools. It can meet the needs of one-time machining of complex and precision parts. At the same time, this machine is also equipped with an automatic feeder, which can realize the automatic production of large-volume parts.

 
Automatic CNC lathe-2

On the other hand, the XY-120 PLUS lathe is equipped with a twin-spindle and a double turret. The rear spindle is matched with the rotating blade table structure, and the front and rear spindles can be processed simultaneously. This design can significantly reduce the processing time. The first turret has 12 sides for the installation of rotary tools, and with the Y-axis axial direction. In addition, the front and rear spindle are of C-axis control and the second turret can be equipped with turning tools and power drills. These altogether enhance the comprehensive processing capability.

 
Automatic CNC lathe-3

The optional embedded power head is a set of processing equipment that can be assembled according to the processing demands; its back shaft is equipped with a deep hole bit holder for deep hole processing, and the back shaft side power head further improves the front composite processing capability; the conductive sleeve strengthen high-speed, high-precision processing; this equipment is equipped with automatic programming software.

04

Multiple software simulation

  • Certifications for R&D and design
  • 3D mold construction
  • 2D plane charting
  • Pro/E hydraulic channel simulation system
  • Management system for chart and text
  • ERP resource management system
  • CAD stress analysis software
  • Online management system for 3D chart and text
  • Product profile application
Buffer traverse – Performance curve of damper
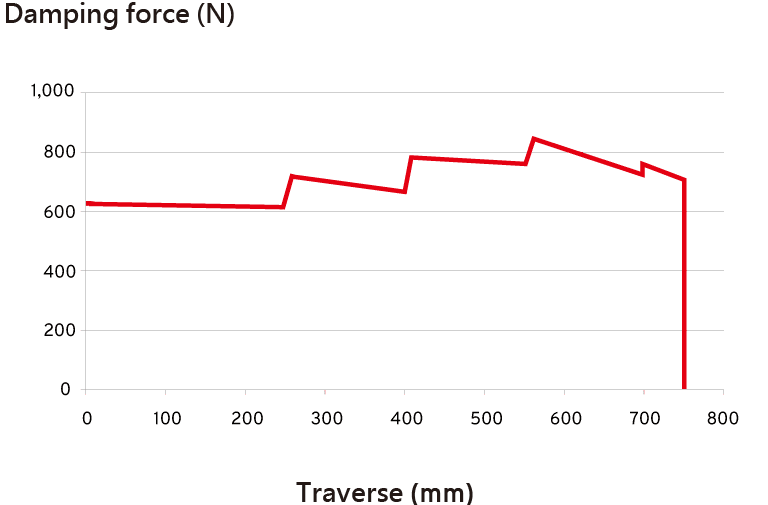
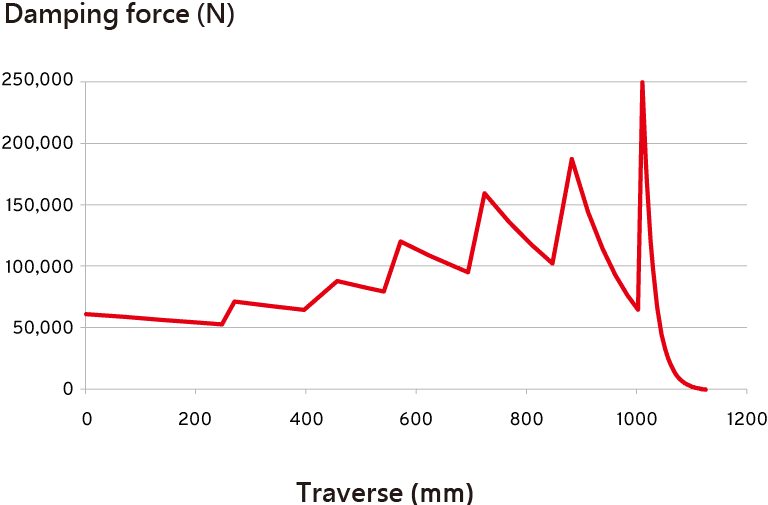
This machine uses the simulation technology to construct the virtual environment through the simulation software, and then obtains the absorbing feature, structure, strength and other related data. In this way, personnel can get more accurate design references and significantly shorten the product development cycle.

This machine uses the simulation technology to construct the virtual environment through the simulation software, and then obtains the absorbing feature, structure, strength and other related data. In this way, personnel can get more accurate design references and significantly shorten the product development cycle.

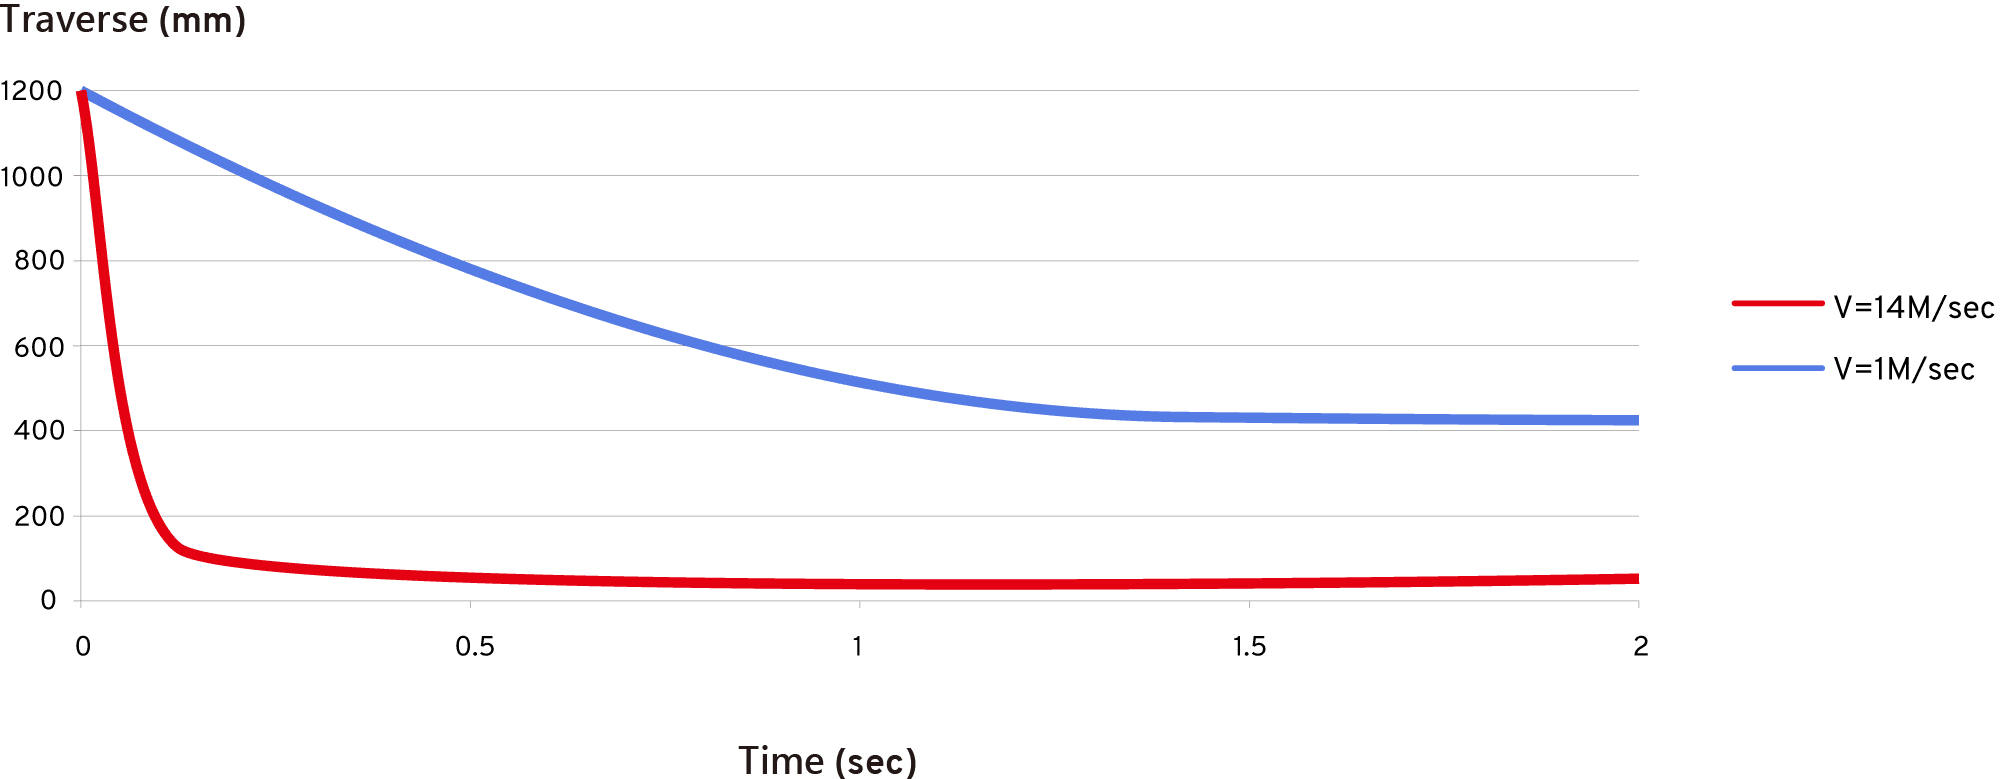
Buffer duration - Performance curve of traverse
05

National wide technological support

There are 9 offices and many dealer offices all over the nation. They offer instant professional technical support to customers.

Tianjin Office
Qingdao Office
Wuxi Office
Shanghai office
Ningbo Office
Xiamen Office
Shenzhen Office
Dongguan Office
Chongqing Office